3D Printing
You may be thinking that 3D printing is a far off in the future, high tech, expensive and complicated thing...but it's not! Truth is there are many inexpensive 3D printers on the market today and many schools could take advantage of the benefits this sort of technology offers education. No longer is 3D printing something for older students who are specializing in a tech course, 3D printing is accessible to younger students, and it can be linked to so many areas of the elementary curriculum.
Math curriculum links could include:
-symmetry
-angles
-2D and 3D shapes
-measurement
-cartesian plane
We have found ways even beyond just math, by incorporating 3D printing into problem solving for our Little Green Thumbs garden (Science and Technology links) but also Language Arts. Having students write about the process, and developing custom game pieces for novels are just some other ways literacy has been achieved.
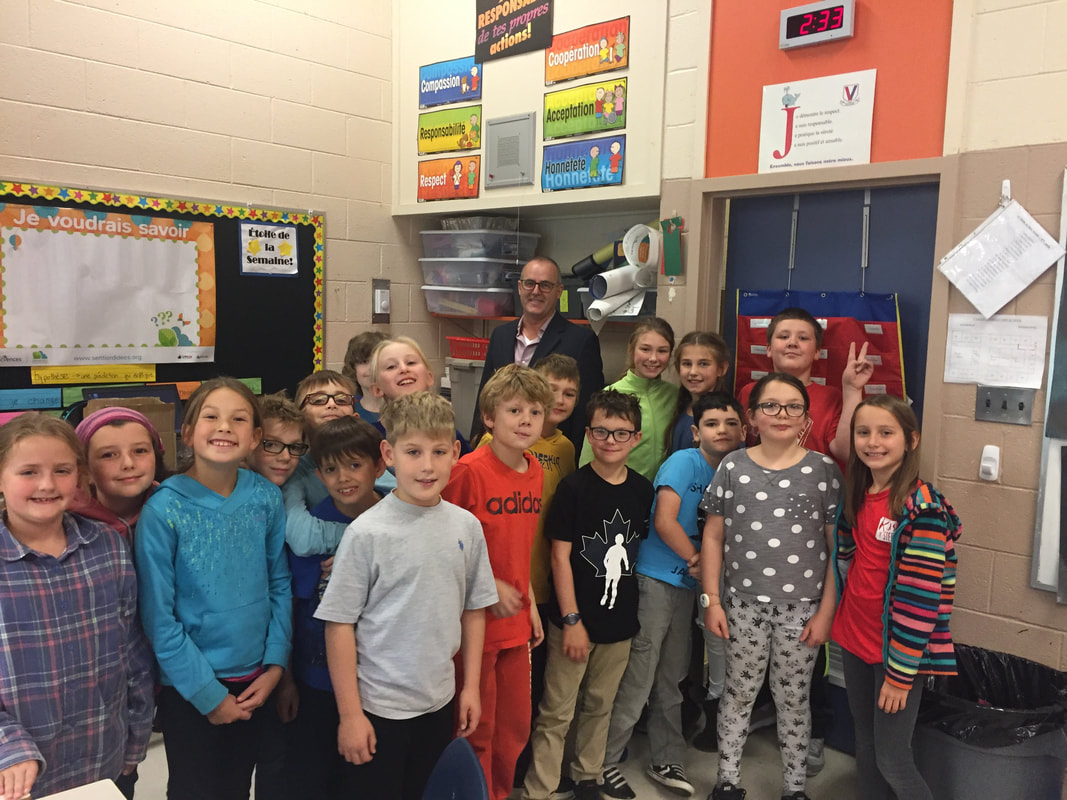
Our printer was given to the school by a Brilliant Labs grant I applied for as part of a "high tech garden" project. A special thank you to Wylie Butler from BL for coming in and helping is get set up and started.The goal was to have my class become "experts" and mentor other classes. This way the process would seem attainable for other teachers interested in 3D printing. I have been regularly sharing projects on Twitter but here are a few highlights:
Math curriculum links could include:
-symmetry
-angles
-2D and 3D shapes
-measurement
-cartesian plane
We have found ways even beyond just math, by incorporating 3D printing into problem solving for our Little Green Thumbs garden (Science and Technology links) but also Language Arts. Having students write about the process, and developing custom game pieces for novels are just some other ways literacy has been achieved.
Our printer was given to the school by a Brilliant Labs grant I applied for as part of a "high tech garden" project. A special thank you to Wylie Butler from BL for coming in and helping is get set up and started.The goal was to have my class become "experts" and mentor other classes. This way the process would seem attainable for other teachers interested in 3D printing. I have been regularly sharing projects on Twitter but here are a few highlights:

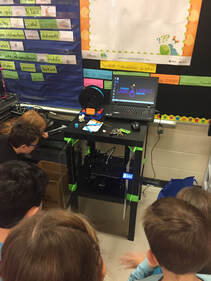
Wylie from BL giving me (and the class) some PL on how the printer works and showing us the set up.

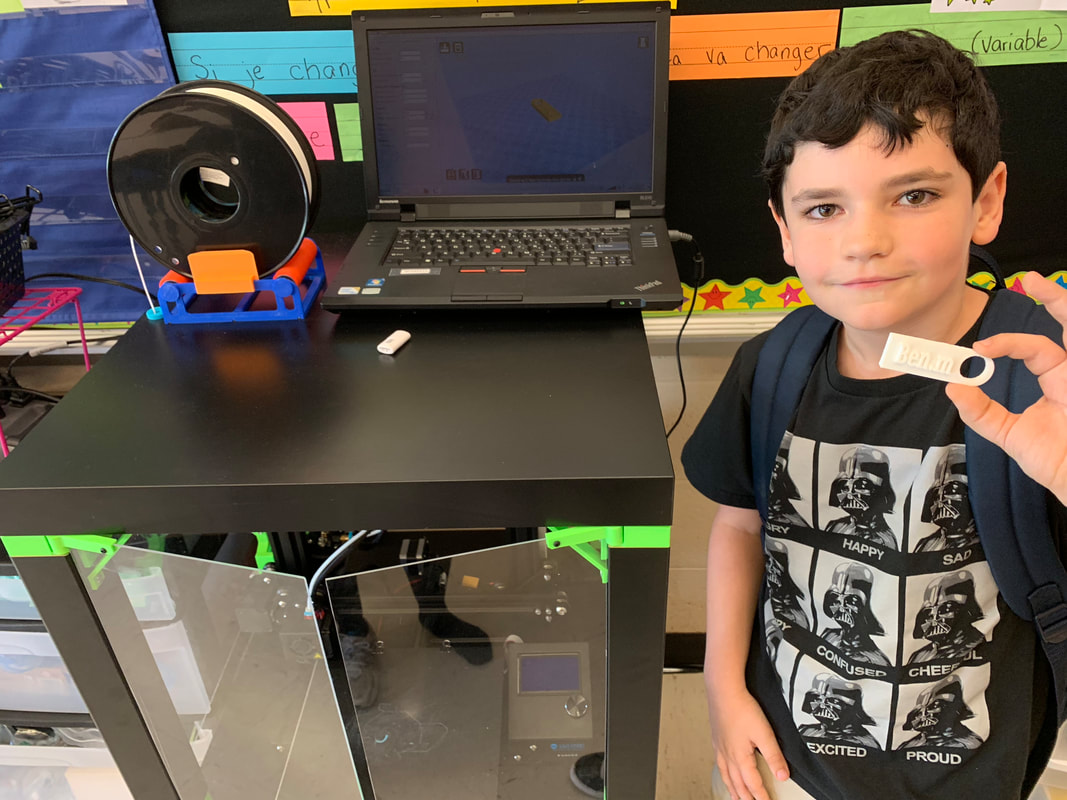
First project...key chains!
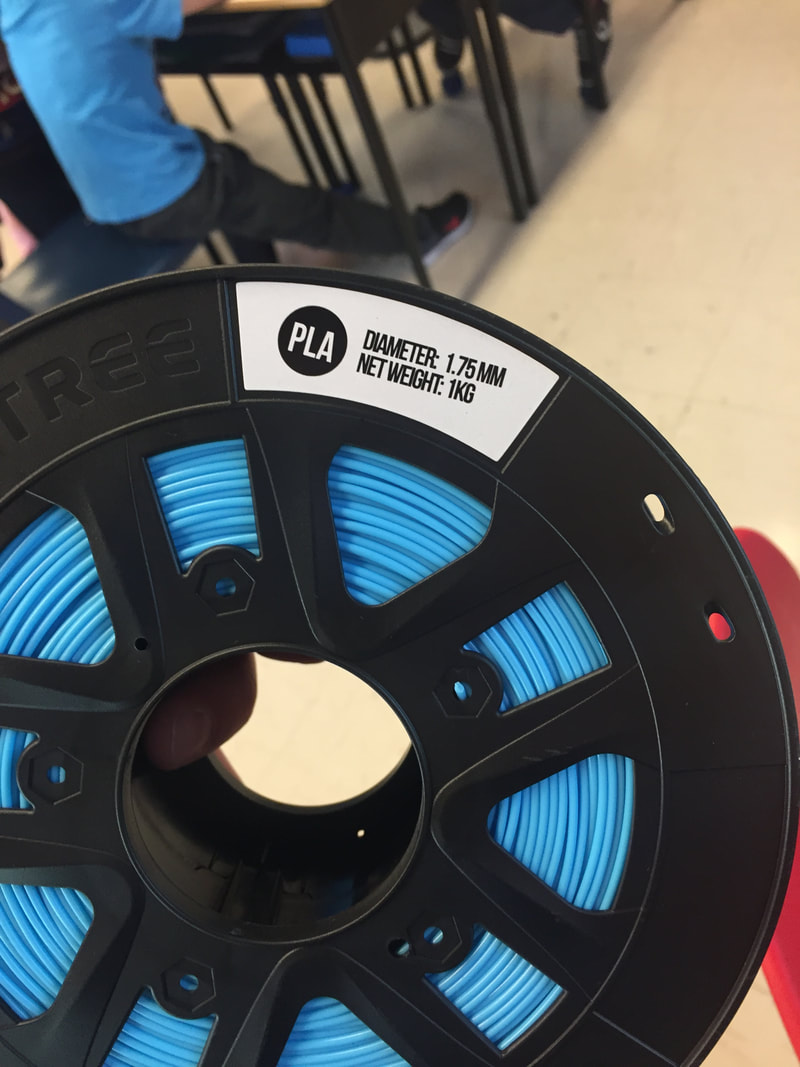
PLA 1.75mm Filament can be bought easily on Amazon for around $20.
|
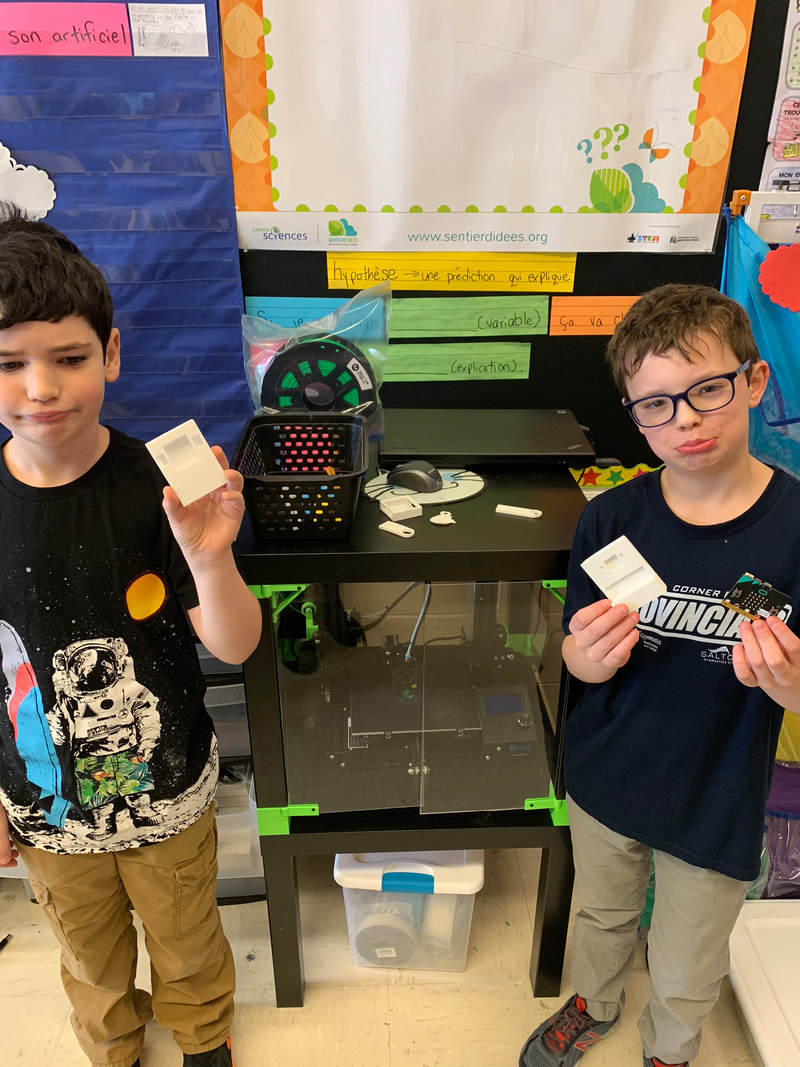
Microbit holder challenge for out garden sensors. These were some designs that didn't have quite work. Learning from our mistakes.

Keychain gifts for our guides at the mosque and synagogue. Exploring religious symbols.
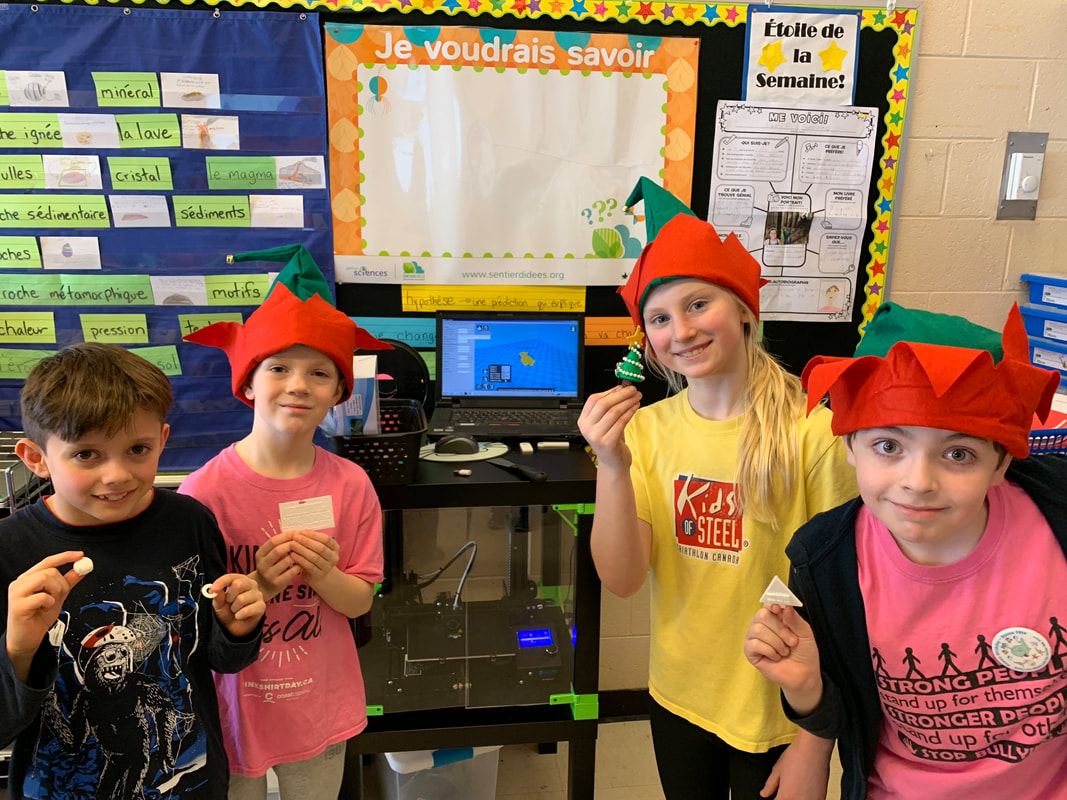
Christmas ornaments helped us visualize symmetry for our math unit.

|
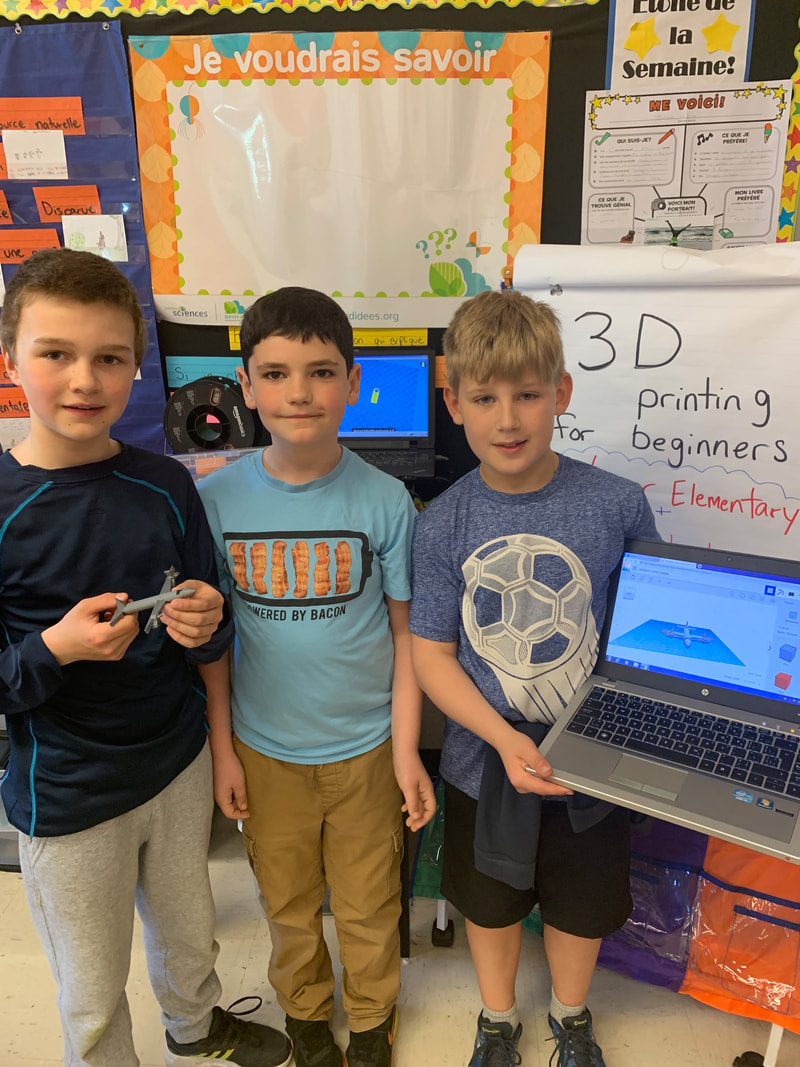
A pretty complex design of a plane for our "Community of the Future" project.
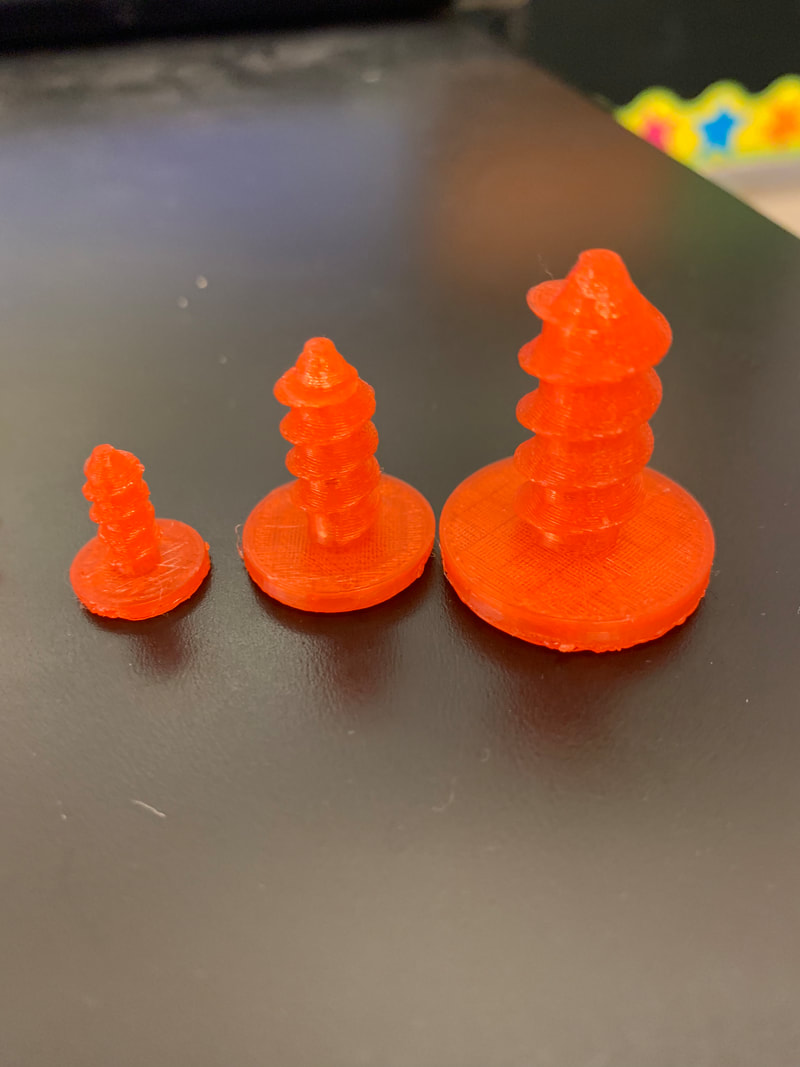
Cardboard connectors and screws help with structures. So many ways to use these.

Even Mrs. Parrell's grade 4 class got into the mix designing and printing pieces for their boardgames. Literacy connection!
|
Getting started is the hardest part. When we first started using TinkerCad software, it was a bit hectic. My students were not really that tech literate yet, and had a hard time getting the pieces in the right place. They kept dragging the wrong little box in Tinkercad. So far this has been the easiest online free software for students to use, it just takes some time, practice and patients. At this point in June my students can all save their projects and save them onto a microusb, upload them into Cura software and convert their .stl design file to a .gcode file that is readable by the 3D printer. They can turn on the .gcode and print things totally without any assistance from me, although changing the filament is still a little tricky and requires my help.
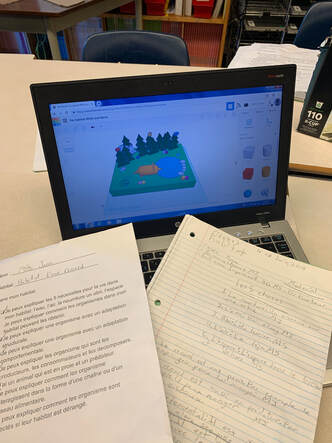
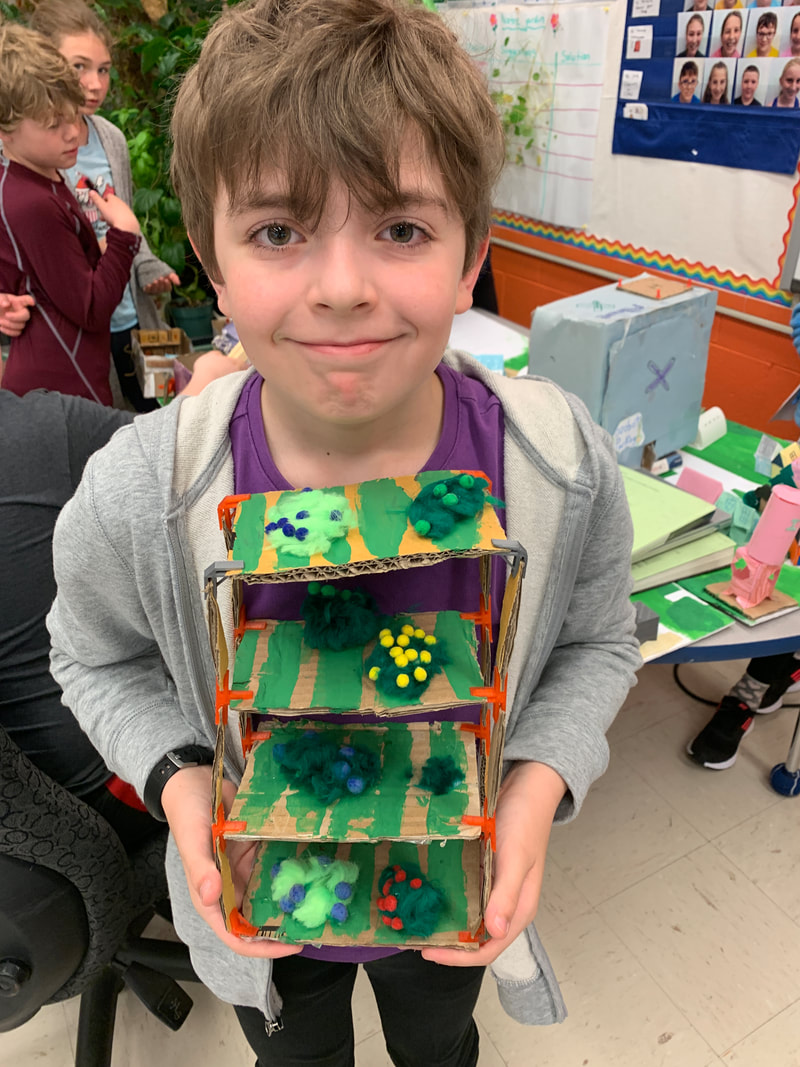
Even if you don't print anything Tinkercad is a great way for students to express themselves. For out Science unit on habitats, some students made organisms using the 3D printer (they even figured out scribbler function and showed me), but some just used the Tinkercad platform to design a 3D diorama. A digital way to show in 3D the elements for a habitat, plus each element is a 3D object that they kept building. Like digital blocks! They even showed me how to change the colours for all the elements.
Tips and tricks:
- Stick with it. Tinkercad is a little tricky at first, but your students will get the hang of it. I suggest older students mention grade 3 or younger.
- Tinkercad is free, but need an account. I had my students link their Google Account to ease with passwords and all that jazz.
- Make sure you have everything touching on the Z axis. If you print something that is floating in space, or doesn't have the right supports, it will misprint.
- Accept that misprints will happen, and that they are learning opportunities.
- Bed temp at about 60 for glass bed.
- 1.75 mm PLA fit Ender 3. I find CC tree brand or Amazon basics good quality and a good price at about $20 a roll
- One PLA roll lasts a long time so don't worry about filament costs.
- If you hear a clicking noise when printing it means your extruder is struggling to get filament on, your bed may be too close and you would have to adjust. I use a bed level test from Thingiverse to check when starting off a new roll or when problems arise.
- Thingiverse is a great resource for already designed pieces. A good place for students to get inspiration, but be warned this is an open source platform. Although it has never happened to me, students could search content that may not be appropriate.
Looking to get started? My students have come up with a YouTube tutorial video to help teachers and students get started. We are hoping to get a more advance and some troubleshooting videos uploaded to our channel soon...stay tuned!
